Introduction
If you love bold, tangy flavors, these dill pickle recipes will quickly become your new kitchen favorite. Making your own pickles at home is easier than most people think, and the payoff is a jar of crisp, garlicky, herb-packed goodness that beats anything from the store. Whether you’re a beginner canner or a seasoned home cook looking for a fresh spin on a classic, this guide walks you through everything you need to know — from ingredients to troubleshooting — so your pickles turn out perfectly crunchy every single time.
Dill pickles have been a pantry staple for generations, and it’s easy to see why. They’re versatile, packed with probiotic potential (if fermented), low in calories, and endlessly snackable. Let’s dig in.
Ingredients List
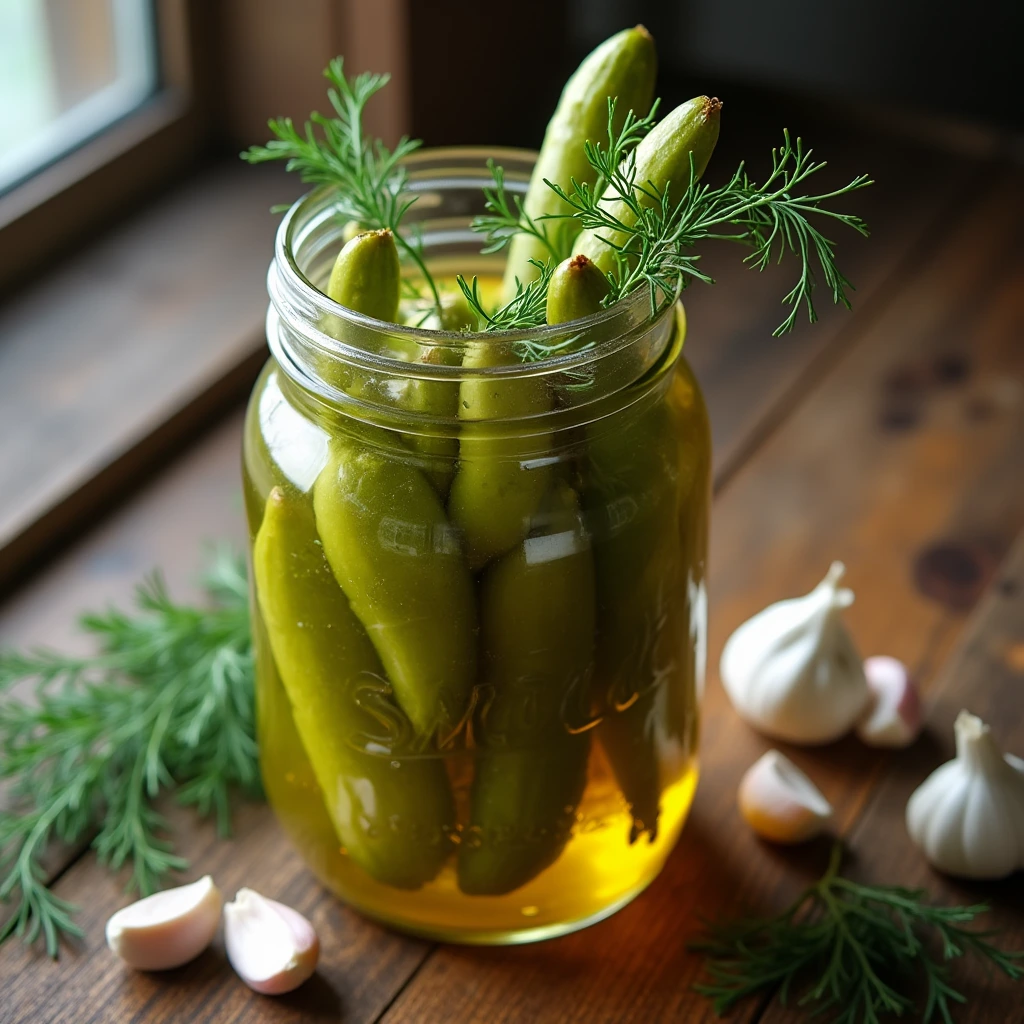
Here’s what you’ll need to make a classic batch of homemade dill pickles. This recipe makes about 2 quart-sized jars.
- 6-8 small to medium pickling cucumbers (Kirby or Persian cucumbers work best — their thin skin and firm flesh give you that signature crunch. Avoid waxy supermarket cucumbers; they won’t absorb the brine well.)
- 4-6 fresh dill sprigs or dill heads (fresh is best for that bright, herbaceous punch, but 2 tablespoons of dried dill can work in a pinch)
- 4-6 garlic cloves, peeled and lightly smashed (smashing releases more flavor into the brine)
- 2 cups water
- 2 cups white vinegar or apple cider vinegar (cider vinegar adds a subtle sweetness)
- 2 tablespoons kosher salt (avoid iodized table salt, which can cloud the brine and affect texture)
- 1 tablespoon sugar (optional, balances the acidity)
- 1 teaspoon black peppercorns
- 1 teaspoon mustard seeds
- 1/2 teaspoon red pepper flakes (optional, for a spicy kick)
- 1 bay leaf per jar
Feel free to get creative — some cooks like adding a few grape leaves or oak leaves to the jar, which contain tannins that help keep the pickles extra crisp.
Timing
- Prep time: 20 minutes
- Brining/cooking time: 10 minutes (for a quick refrigerator pickle)
- Resting time: At least 24 hours, ideally 3-5 days for full flavor development
- Total active time: Just 30 minutes
That’s roughly 40% less hands-on work than traditional fermented pickle methods, which often require daily monitoring over one to two weeks. This quick-brine method gives you nearly all the flavor with a fraction of the effort.
Step-by-Step Instructions
Step 1: Wash and Prep the Cucumbers
Rinse your cucumbers thoroughly under cold water to remove any dirt or wax. Trim off about 1/8 inch from the blossom end of each cucumber — this end contains enzymes that can make your pickles go soft, so don’t skip this step. Slice them into spears, rounds, or leave them whole, depending on your preference.
Step 2: Pack the Jars
Place a dill sprig, a bay leaf, half your garlic, peppercorns, and mustard seeds into the bottom of each clean glass jar. Pack the cucumbers in tightly, then top with the remaining dill and garlic. Packing tightly helps the cucumbers stay submerged and pickle evenly.
Step 3: Make the Brine
In a saucepan, combine the water, vinegar, salt, and sugar. Bring to a gentle boil, stirring until the salt and sugar fully dissolve. This step is where the magic happens — a well-balanced brine is the secret to that perfect tangy-salty flavor.
Step 4: Pour and Seal
Carefully pour the hot brine over the cucumbers, making sure they’re completely submerged. Leave about 1/2 inch of headspace at the top. Tap the jar gently on the counter to release any trapped air bubbles, then seal with a tight-fitting lid.
Step 5: Cool and Chill
Let the jars cool to room temperature on the counter, then transfer them to the refrigerator. While you can technically taste-test after 24 hours, the flavor really deepens after 3 to 5 days as the cucumbers fully absorb the brine.
Nutritional Information
Per serving (about 1 medium pickle spear):
- Calories: 5-10
- Sodium: 280-350mg
- Carbohydrates: 1-2g
- Sugar: less than 1g
- Fiber: 0.5g
- Vitamin K: a small but notable amount, supporting bone health
Dill pickles are naturally low in calories, making them a smart snack choice, though the sodium content means moderation is wise, especially for anyone watching their salt intake.
Healthier Alternatives for the Recipe
- Lower the sodium: Cut the salt to 1 tablespoon and rely more on garlic, dill, and spices for flavor.
- Reduce sugar: Skip the added sugar entirely or substitute a natural sweetener like honey in a small amount.
- Go fermented: Swap the vinegar brine for a saltwater brine and let the cucumbers ferment naturally at room temperature for 3-7 days. This method produces beneficial probiotics, similar to sauerkraut or kimchi.
- Add extra veggies: Toss in carrot sticks, cauliflower florets, or green beans alongside the cucumbers for a colorful, nutrient-diverse jar.
Serving Suggestions
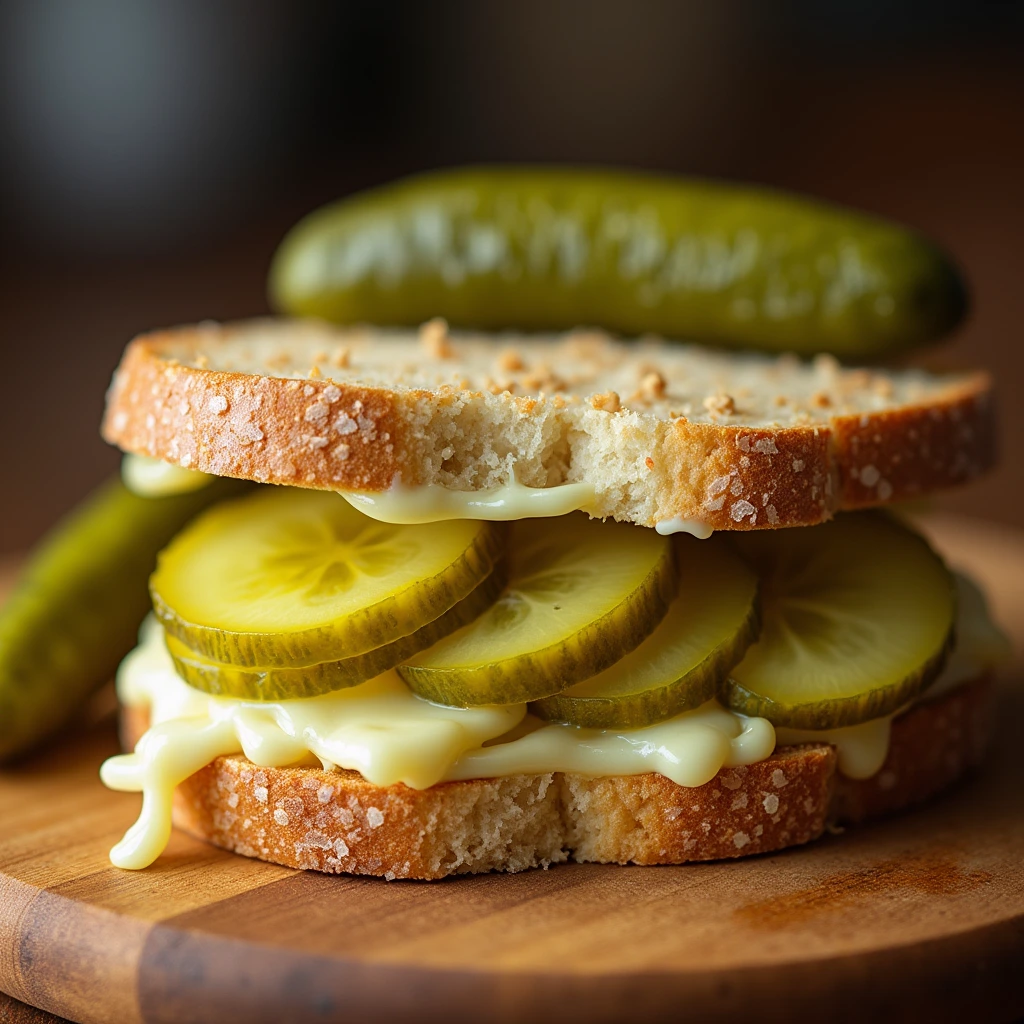
Dill pickles aren’t just a side snack — they’re incredibly versatile. Chop them up and fold them into a creamy potato or egg salad for a tangy crunch. Layer thick slices onto burgers and sandwiches for that classic deli-style bite. They also pair beautifully with a charcuterie board, alongside sharp cheeses and cured meats. For a fun twist, try breading and frying a few spears for crispy fried pickles with a spicy dipping sauce, or blend the brine into a savory pickle martini for a bold cocktail hour surprise.
Common Mistakes to Avoid
- Using the wrong cucumbers: Standard slicing cucumbers have too much water content and will turn mushy. Stick to pickling varieties.
- Skipping the blossom end trim: This small step prevents softening enzymes from ruining the texture.
- Not fully submerging the cucumbers: Any part exposed to air can spoil or discolor. Use a fermentation weight or a small dish if needed to keep them under the brine.
- Using iodized salt: It can cause cloudy brine and a slightly bitter, metallic taste. Kosher or pickling salt is the way to go.
- Rushing the resting time: Taste-testing too early means missing out on the full depth of flavor that develops over several days.
Storing Tips for the Recipe
Store your dill pickles in the refrigerator in a tightly sealed jar, where they’ll stay fresh and crunchy for up to 2 months. Always use a clean utensil when removing pickles from the jar to prevent introducing bacteria into the brine. If you notice the brine turning cloudy (beyond the initial settling) or developing an off smell, it’s best to discard the batch. For longer-term storage, cucumbers can be processed using a proper water-bath canning method to make them shelf-stable for up to a year.
Conclusion
Homemade dill pickles are simple, budget-friendly, and endlessly customizable. With fresh cucumbers, a well-balanced brine, and a little patience, you’ll have crisp, tangy pickles ready to elevate sandwiches, snacks, and more. Try the recipe today, leave a review below, and subscribe for more!
FAQs
Q: How long do homemade dill pickles last? A: Refrigerator pickles typically stay fresh for up to 2 months when stored properly in a sealed jar.
Q: Can I reuse pickle brine? A: Yes, but only once or twice, and only for quick pickling — not for canning, since the acidity level drops with reuse.
Q: Why are my pickles soft instead of crunchy? A: This is usually caused by using the wrong cucumber variety, skipping the blossom-end trim, or not using enough salt in the brine.
Q: Do I need to can these pickles for them to be safe? A: No, refrigerator pickles don’t require canning since they’re stored cold and consumed within a couple of months.
Q: Can I make this recipe spicier? A: Absolutely — add extra red pepper flakes, a sliced jalapeño, or a splash of hot sauce to the brine for a spicy kick.